 Copse & Compass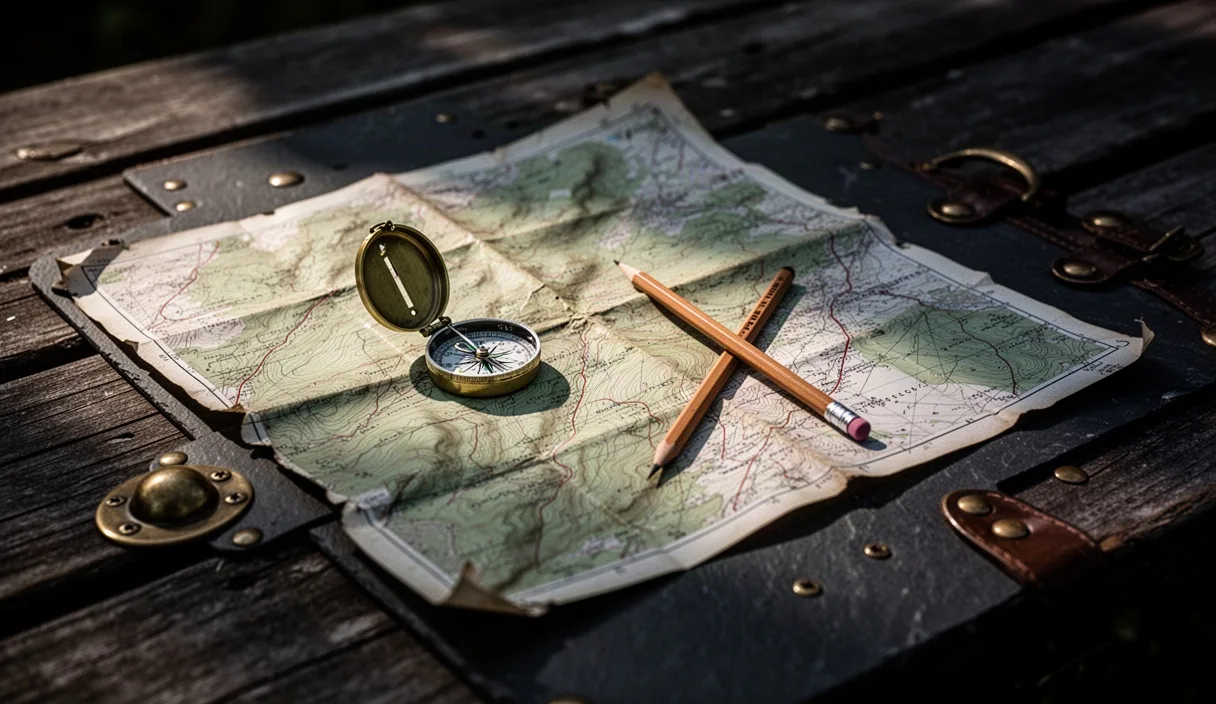

We've handed out plenty of advice at the shop counter over the years, and one thing keeps coming up: someone's phone died on a ridge, or the signal dropped in a valley, and they had no idea which way was north. A paper topographic map doesn't need charging, doesn't lose satellite lock under tree cover, and doesn't crack when it slips out of a pocket onto granite. Learning to read one isn't old-fashioned, it's just backup skill that never expires.
This guide walks through the basics we teach at our weekend map clinics: contour lines, symbols, scale, orientation, and a simple way to find your way back if you've wandered off track. None of it requires special math or gear beyond a map and a compass, and most people get comfortable with it after one afternoon of practice.
Why paper still matters even with a phone in your pocket
GPS units and phone apps are genuinely useful, but they share a common weak point: batteries. Cold weather alone can drain a phone battery to nothing in under two hours if it's exposed in an outer pocket. Add a dead spot in coverage, a cracked screen from a fall, or a dunk in a stream crossing, and your digital map is gone. A paper map has none of these failure points.
There's also a practical skill gap. Apps tell you where you are, but they rarely teach you to understand the terrain around you. Reading a topo map means you can look at a ridge line on paper and picture the actual slope in front of you, which builds a kind of terrain literacy that a blinking dot on a screen doesn't teach.
We're not suggesting you ditch your phone. Bring it, use it, but carry a paper map and compass as the fallback that doesn't care about signal or battery percentage. Most search-and-rescue teams we've talked with still list "map and compass" as the first line of gear on any multi-hour hike.
Understanding contour lines and elevation shading
Contour lines are the wavy brown lines that cover most topographic maps. Each line connects points of equal elevation, and the vertical distance between two neighboring lines is called the contour interval, usually printed in the map's legend. A common interval on US Geological Survey quads is 40 feet, though some maps use 20 feet or metric equivalents like 10 meters.
The spacing tells you about steepness. Lines packed tightly together mean a steep slope, sometimes a cliff. Lines spread far apart mean gentle, rolling ground. A good trick: if you can't see daylight between contour lines at the map's printed scale, you're likely looking at terrain too steep to hike without technical gear.
Shapes matter too. Concentric circles that get smaller toward the center usually mark a hilltop or peak. The same circles with tick marks pointing inward, called hachures, indicate a depression or sinkhole instead. V-shaped contour lines that point uphill usually mark a stream valley or drainage; V-shapes pointing downhill often mark a ridge spur.
- Every fifth contour line is typically bolded and labeled with its elevation, called an index contour.
- Count the lines between index contours and multiply by the interval to find elevation changes quickly.
- A cluster of tight circles with no other terrain nearby is often a small isolated hill, sometimes called a knob.
Reading trail symbols and grid references
Every topo map comes with a legend explaining its symbols, and it's worth reading before you head out, not on the trailhead bench in the rain. Dashed lines usually mark trails, solid black lines mark roads, and thin blue lines mark streams or rivers. A small blue teardrop shape often marks a spring, and a set of parallel blue lines crossing a trail usually means a ford or stream crossing.
Grid references let you describe a precise location using numbers instead of landmarks. Most US topo maps use the Universal Transverse Mercator, or UTM, grid, shown as thin blue lines forming squares, usually spaced 1,000 meters apart. To read a UTM coordinate, you read right along the bottom edge first, then up along the side, a habit search-and-rescue teams call "read right, then up."
Latitude and longitude lines also appear on most quads, usually as tick marks along the map's border rather than full grid lines. If you're calling for help and need to give rescuers a location, UTM coordinates are generally faster to communicate accurately over a radio than a full latitude and longitude string with decimal points.
| Symbol | Common meaning |
|---|---|
| Dashed black line | Foot trail or unpaved path |
| Solid thin blue line | Stream or creek |
| Blue shape with dots | Marsh or wetland |
| Small black square | Building or structure |
| Black cross | Church or chapel, used as a landmark |
Matching map scale to real-world distance
Scale tells you how much a distance on paper represents in the real world, and it's printed at the bottom of nearly every topo map as a ratio, like 1:24,000. That means one inch on the map equals 24,000 inches on the ground, roughly 2,000 feet, or about 0.4 miles. A 1:50,000 map, common in Canada and much of Europe, means one centimeter equals 500 meters.
Most topo maps also print a bar scale, a small ruler-like graphic showing miles or kilometers directly, which is more reliable than doing mental math with the ratio, especially if the map has been folded or slightly stretched from age. Lay a piece of string or the edge of a compass baseplate along a winding trail, then compare that length against the bar scale to estimate real distance.
Scale also affects how much detail you get. A 1:24,000 map shows individual switchbacks and small streams clearly, while a 1:100,000 map covers far more ground but smooths out small terrain features you might actually need to see, like a narrow gully or a short cliff band. For most day hikes, 1:24,000 or 1:25,000 gives the best balance of detail and coverage.
Orienting the map using landmarks
Orienting a map means turning it so that north on the paper lines up with true north on the ground, and it's the step people skip most often. Start by laying the map flat and setting a compass on top, aligning the compass's north arrow with the map's north arrow, then rotating both together until the needle settles.
Once oriented, look for two or three recognizable features around you: a distinct peak, a lake, a bend in a river. Find those same features on the map. If they line up with what you see in the correct direction, your map is properly oriented and you can trust the terrain shapes around you to match what's on paper.
A quick example: if you're standing with a lake to your left and a peak straight ahead, rotate the map until the lake symbol sits to your left of your position and the peak symbol sits ahead. From there, any trail junction or stream crossing on the map should appear in roughly the same direction in real life.
A simple backup method if you lose the trail
If you've lost the trail entirely, the most reliable low-tech method is called handrailing, using a linear feature like a stream, ridge, or power line as a guide back to a known point. Look at your map, find the nearest linear feature that leads toward a road, trailhead, or other clear landmark, and walk toward it rather than wandering randomly.
Another option is backtracking by compass bearing. If you know the compass direction you walked in from the trailhead, for example 340 degrees, walking the reverse bearing, 160 degrees, will bring you roughly back the way you came, assuming you kept a fairly straight line. This works best on open terrain; dense brush or steep slopes will force detours that throw off a strict bearing.
A third method, useful if you're near a slope, is simply walking downhill until you hit a stream or valley bottom, since water almost always leads to a larger drainage, and larger drainages often lead to roads or trailheads eventually. This isn't guaranteed and can take hours, so it's a last resort, not a first choice, and if you're genuinely lost and daylight is running out, staying put and signaling for help is often safer than continuing to move.
Practicing at home before you rely on it outdoors
The clinic advice we give most often: don't wait for a real hike to test these skills. Pick a topo map of a local park you already know well, sit at your kitchen table, and try to identify three landmarks you remember from past visits using only contour shapes and symbols.
Try a short backyard or park exercise: pace out 100 steps and count how many steps that takes you, since knowing your own pace count lets you estimate distance walked without any instrument. Most adults average between 60 and 70 double-steps per 100 meters on flat ground, though this varies by height and terrain.
Practice taking a bearing on a known object, like a specific tree or building, then walking to it using only the compass, checking your accuracy against what you expected. Doing this a few times in a familiar space builds real confidence before you try it somewhere unfamiliar and possibly stressful.
Common mistakes
New map readers often confuse contour interval with actual elevation, forgetting to check the legend and misjudging how steep a slope really is. Another frequent mistake is holding the map without orienting it first, which makes every landmark appear to be in the wrong direction. People also tend to trust a single landmark instead of confirming with two or three, which can lead to false confidence in a wrong position.
Next steps
Buy or print a topo map of a trail you plan to hike soon, and spend twenty minutes at home tracing the route with a finger, noting elevation changes and stream crossings before you go. Bring a compass, not just for emergencies, but to practice orienting the map at each trail junction during the hike itself. If you're ever genuinely unsure of your location and conditions are worsening, it's worth contacting local park rangers or a trained wilderness guide rather than relying solely on self-taught navigation in a real emergency.